Necessity is the mother of invention, so it’s said, and the necessity for a hothouse when you’re a mad-keen gardener is fundamental. The flexibility they give you with sprouting your own seedlings, extending your growing seasons, striking cuttings and protecting frost tender plants is invaluable. For years I’d made do with plastic document storage boxes, the kind you can pick up for a few dollars at your local el-cheapo store.
They do the job well enough and if you add a layer of sand and an inverted soft drink bottle filled with water they can even be self-watering. The only downside is the plastic in all these storage boxes isn’t UV stabilised and after about a year in the elements they perish and need to be replaced. This wastefulness had me thinking for years – what greenhouse could I make that would be long lasting, attractive and functional?
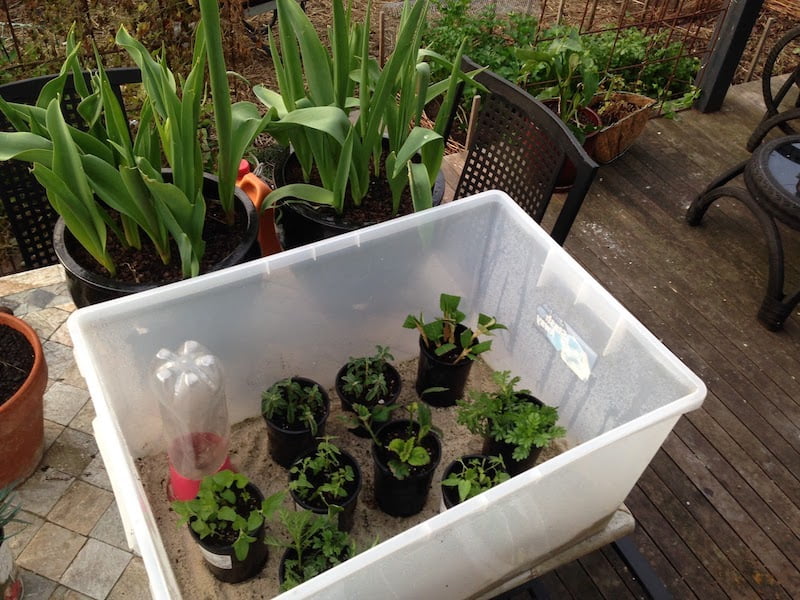
Plastic storage boxes – a good but stopgap soltution
After trialling several small hothouses on the retail market and deciding they were absolute crap I was spurned on even more to create a permanent greenhouse of my own. I came up with the solution several years ago – I wanted an old phone box to use as a greenhouse. After an initial bit of research it was clear that the idea was good but the price tag of vintage phone boxes was severely preclusive. There was no way I was going to pay three thousand for a beaten up old phone box that needed significant repairs – three grand was the starting point for boxes I’d found online. I settled on using old French doors to knock up a lookalike phone box instead.
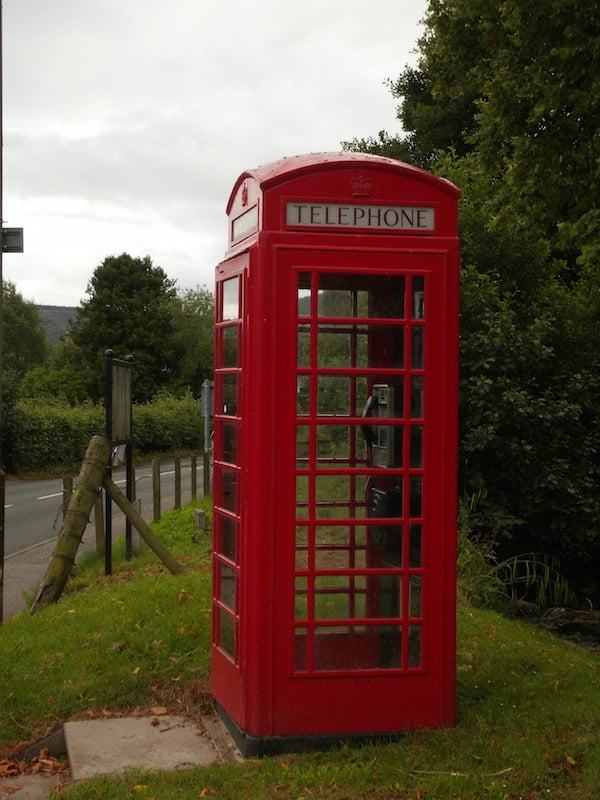
The inspiration for my greenhouse.
Good solution, I hear you say, and it was. There were two problems that turned this handy weekend of tinkering into a three-year project. The first was finding matching French doors; scouring local tip shops religiously for years, the odd one would appear but none of their dimensions matched later finds. To keep construction simple they had to be exactly the same size, which I’ll get to later.
The second problem I ran into was that whenever I did see French doors, even at the tip shop, they were well over one hundred dollars a piece. Better than three thousand, but still hefty enough to get the hairs on my miserly Scottish neck bristling.
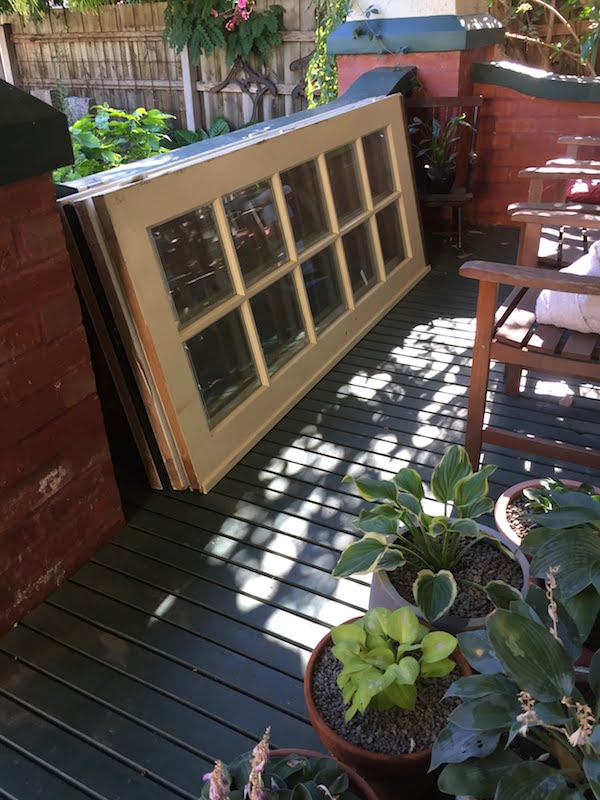
The doors I’d been searching for for years, finally home.
As luck would have it, while I took a break from work earlier this year to build the back garden I’d always wanted, low and behold five matching French doors appeared at the tip shop one February morning. Not only had I found the perfect doors that I’d been searching for for years, but I could take my pick of the bunch provided their price tag wasn’t exorbitant. There are ten glass panels on every door and the glass has a bevelled edge, which I thought would make them a bit more expensive than some of the others I’d seen before. I don’t believe in fate but it was one of those ‘it was meant to be’ moments when the bloke behind the counter said he was flogging them for $25 each. I’ll take three!
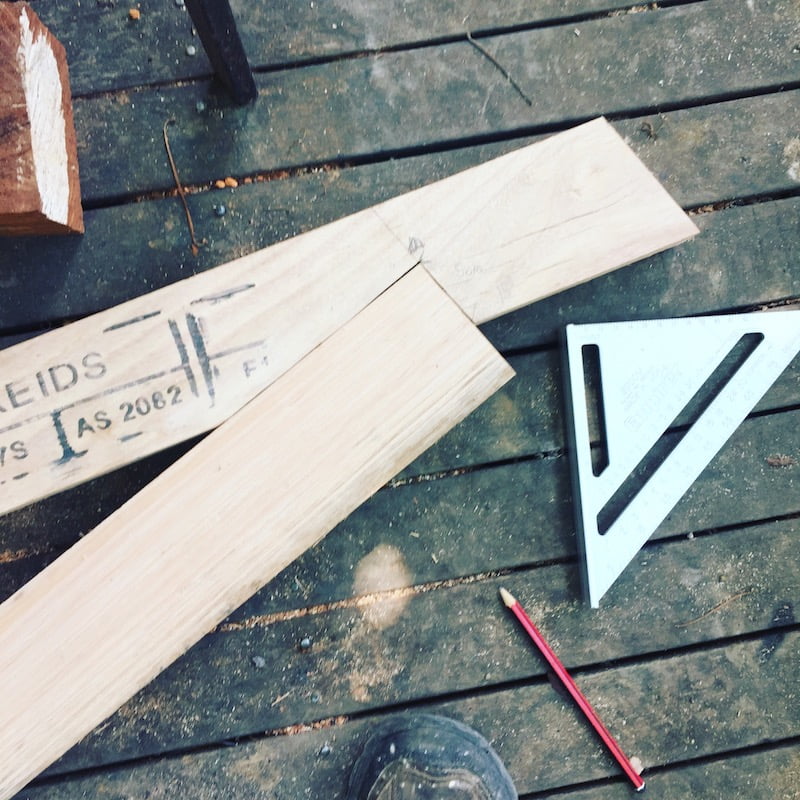
Once I got them home plans were drawn up in earnest. Like any building a garden, you need to have every detail down on paper before getting stuck in. I hadn’t worked with wood in any constructive sense since high school shop class, going on 20 years ago. It had to be simple if it was going to work. All I had was a circular saw, a drill and a chisel. Having doors of the same dimensions was key – a simple square construction makes it easy to keep track of your measurements. I decided to buy four treated pine fence posts and cut sashes into them so the doors would just slot in and be fixed with screws. The front door would be on a hinge. The back would be a sheet of marine ply cut to size, as the finished box would be going up against a boundary fence.
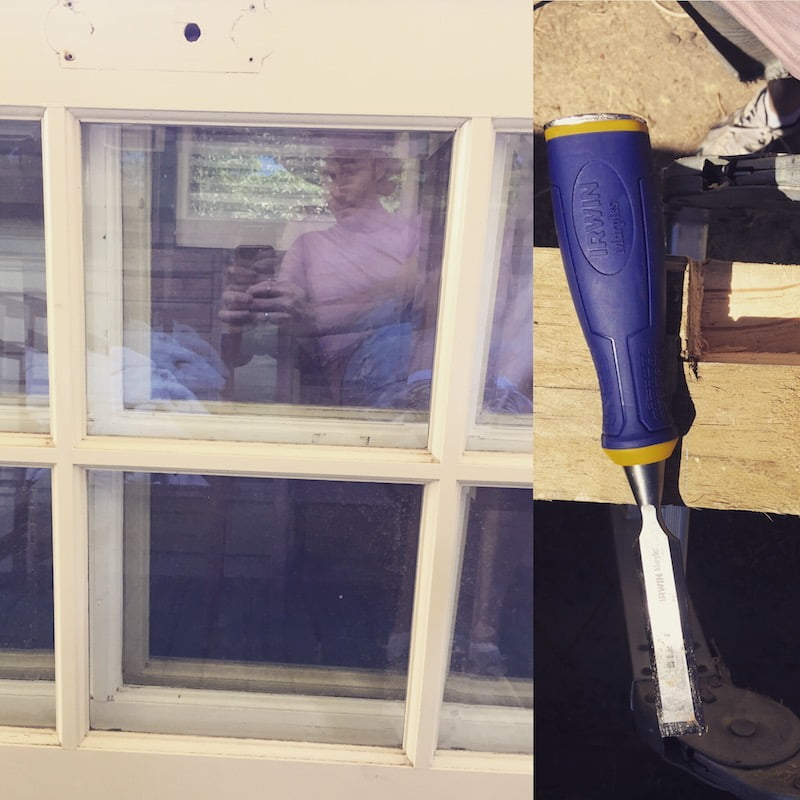
Window detail and cutting sashes
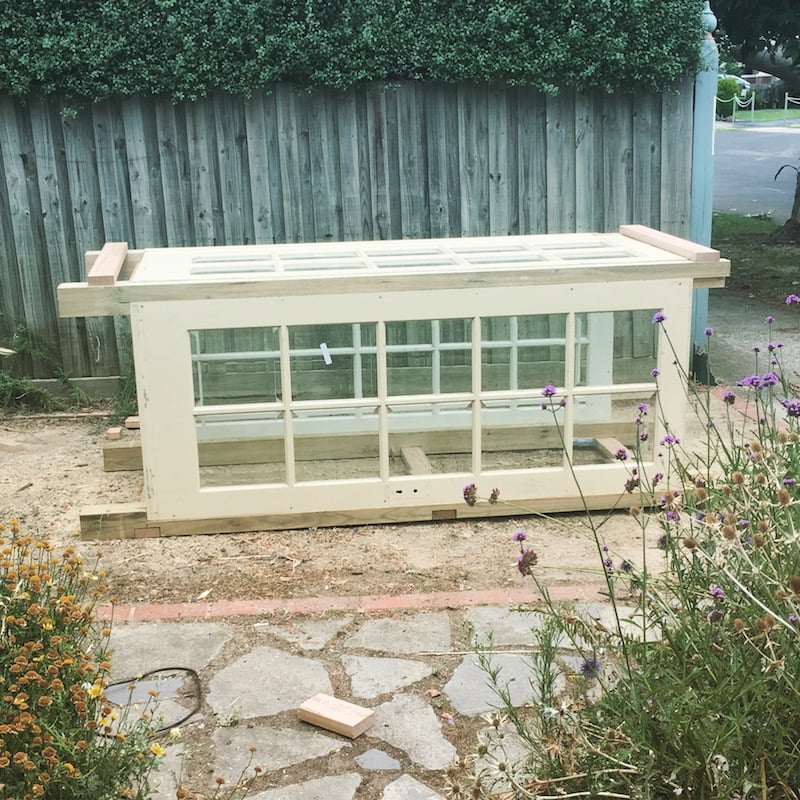
Building it in the driveway
To my amazement this phase of the project unfolded without incident. I built it in the driveway first to make sure it would work, then I could just dismantle it and erect it in its permanent home out back. I used four metal stirrups on the base of each pine post so the box could be concreted in with rapid set. It only took a couple of days to knock it up and fix it into position, which is east facing and gets around 6 hours of sunlight a day in winter, up to 8 in spring/summer. Perfect for growing seedlings.
Rafters being built
The roof had me perplexed for a couple of days. Ideally I wanted a pitched roof, but it was soon clear after a bit of youtubing I was going to need to build rafters to achieve it. I’ve always been better with words rather than numbers, so I was a little daunted by the unexpected intrusion of trigonometry into my life again, but the rafters came together without any trouble at all. After filling the internal gaps to make sure the whole thing was as air-tight as possible, I was soon staring at the greenhouse of my dreams taking shape before me.
The issue of ventilation was at the forefront of my mind throughout the whole construction. It was a consideration I hadn’t resolved before I started but it was soon clear what the solution was. The triangular pediments on the ends of the roof were originally going to be blocked in with perspex, but instead I cut perspex sheets to fit them and put them on hinges, giving me two small windows at either end I could open and close as I needed to.
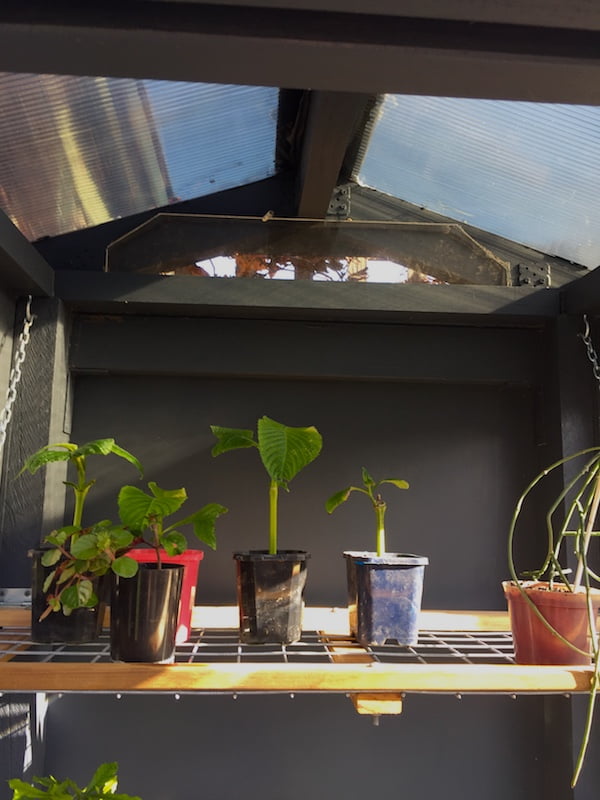
Ventilation system is two perspex windows on the inside of the pediments.
After a lick of paint (it didn’t take us long to decide on a TARDIS-like blue) it was close to done. I knocked up a few chain shelves to give me flexibility on the inside, allowing me to store shelves upright if and when I needed more space in the greenhouse for taller plants. Then it was complete and the real test began – actually growing plants in it!
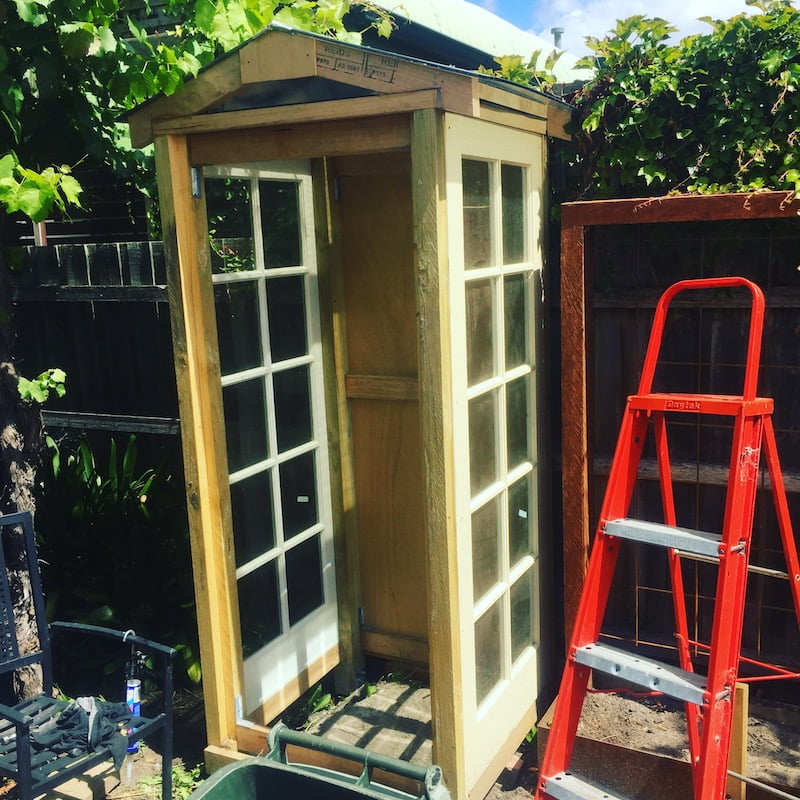
Door to hang, a lick of paint and it’s done.

Complete, time to get growing!
On the whole the last four months have seen the greenhouse working brilliantly. Some of the seedlings I grew were admittedly a bit leggy, but I put this down to a lingering autumn in which an overhanging maple from next door cast a longer-than-usual autumn shadow, a shadow that isn’t a problem in winter, and won’t be in spring and summer when the sun is higher in the sky. So far I’ve grown several crops of broccoli, kale, collards and spinach to brilliant effect. At the moment it’s full of cuttings from ornamentals, some already struck and others still striking. I turned the lower tier into a cutting shelf by cloaking the sides with shade cloth, which has been highly effective.
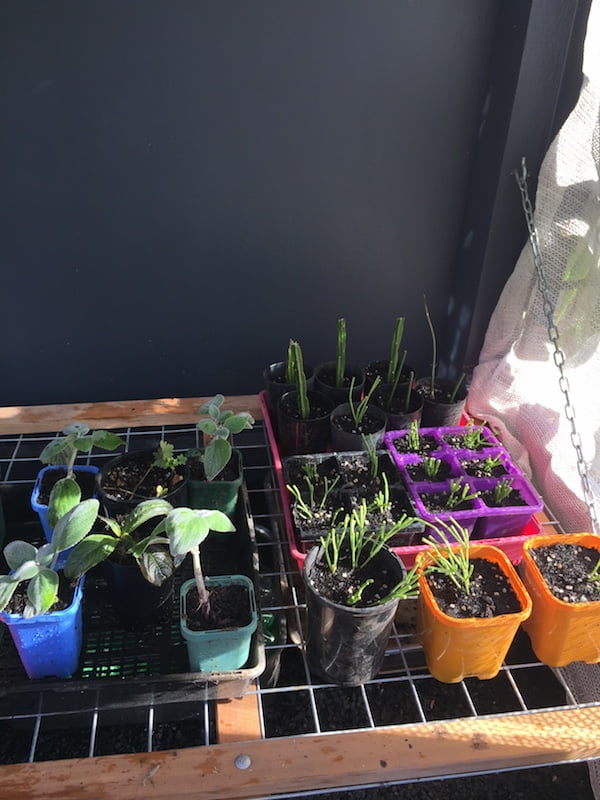
The bottom ‘cutting shelf’, cloaked with shade cloth.

My first greenhouse-raised seedlings are now thriving plants in the garden.
The ventilation windows at first had me wondering if they would be sufficient. After a good month of hot weather it was clear they would be enough. On bloody hot days I open both of them, on warmer days I only open one and this seems to work perfectly thus far. The only other addition I might make is to put a bit of weather stripping around the door for extra insulation/sealing.
This little greenhouse project works brilliantly in the suburbs. We get pretty close to zero degrees here in the winter, with only occasional frosts. So far it’s been protection enough for frost-tender plants I have growing in it. If you lived in the country and tried building something similar there might not be enough protection – it is only a ‘cold’ greenhouse after all. This could be alleviated with some kind of thermal mass being put into the bottom of it. I had thought of including this feature in mine in the form of a couple of dozen wine bottles filled with water and buried below the gravel floor. But in the end I decided our mild city winters wouldn’t warrant it – and so far so good. I’ve also been intrigued by this method of heating a greenhouse in the winter time, but suspect it will never get cold enough here to necessitate experimenting with it.
All up the whole project cost me $350 in materials. And most of that was on the roofing materials and paint, all of which I bought new. Far, far better than the $3k price tag of a vintage box of my original idea. If you’re thinking about having a crack at something like this yourself I say go for it. I built mine with minimal skill and a bit of careful planning, and once I started my trepidation fell away at a surprising rate – I would even be so bold as to say it was easy.
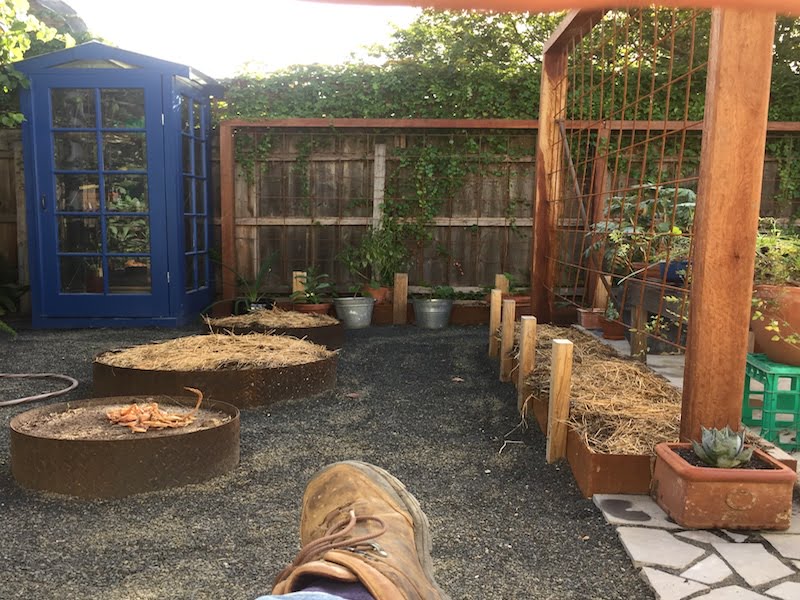
Relaxing with my new greenhouse looking great in the garden.
So eschew the buying of those crappy greenhouses in chain stores and build an attractive, unique and functional greenhouse yourself. I promise it will kick your backyard gardening into a higher gear!