
DAY 1: I open up the microgreens growing tray and seed packets. The instructions on the seed packet seem pretty straightforward, except that you need two things beyond what’s provided: a tissue and a water spray bottle. A tissue isn’t hard to come by but a spray bottle is – eventually I liberate one from among my housemate’s belongings and am ready to start.

Day 1 Microgreens tray and seeds
It’s very easy to set up. All you have to do is separate the two layers of tissue and spread them across the growing tray, then spray the tissue with water until its soaked through.

Day 1 Microgreens soaked tissue paper ready for seeds
Then you sprinkle the seeds onto the tissue paper and fill up the tray with water through the inlet at the side.
I have two seed packets: Flavours of Western Europe (cress, amaranth red garnet and pea morgan seeds) and Flavours of the Orient (mustard ruby streaks, garland chrysanthemum and coriander). I only recognise cress and coriander as food but I decide to try a mix of the other four seed types just to see what they are. I give each type roughly a quarter of the growing tray.
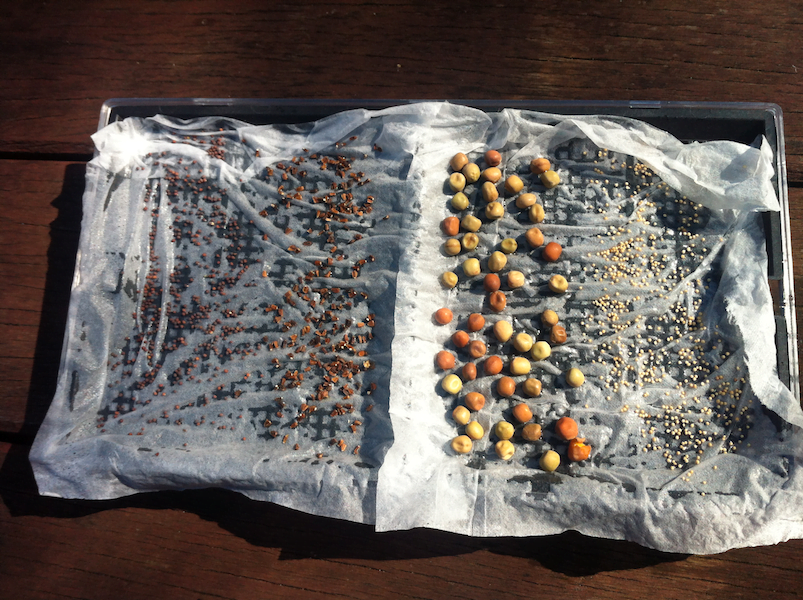
Day 1 – sown seed in the Microgreens tray
Left to right they are mustard ruby streaks, garland chrysanthemum, pea morgan and amaranth red garnet.
I spray them all some more to make sure they’re wet and then put the tray just inside our back door, where there’s some direct morning sunlight and it’s pretty bright all day.
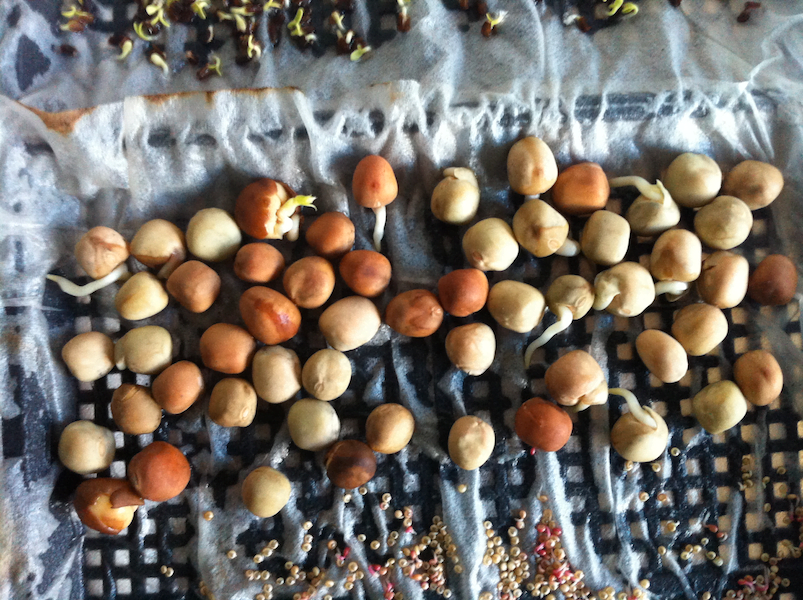
Day 4 Microgreens – some of the seeds are already sprouting
DAY 4: I’ve been dutifully spraying the seeds in the morning and evening as the packet instructs and they’ve already begun to make little sprouts.
The garland chrysanthemum and mustard seeds in particular seemed to sprout quickly:
 DAY 6: I’m still spraying once a day or so but the sprouts are growing well and some of their little roots have already reached the water in the bottom of the tray.

Day 6 Microgreens – all the seeds are sprouting
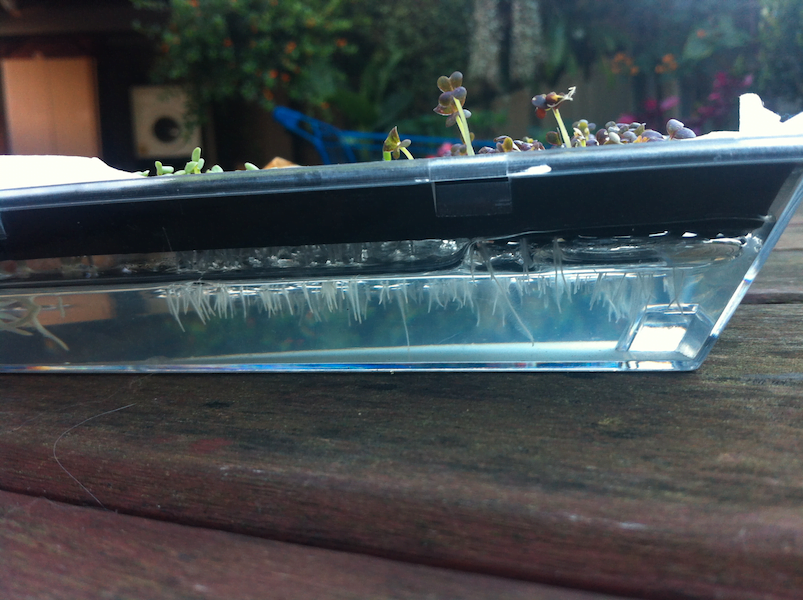
Day 6 Microgreens – roots have reached the water reservoir
DAY 8: The amaranth red garnet now looks like its getting going and most of the peas have sprouted, though they both seem to be behind the other two seeds I chose. The mustard seeds and garland chrysanthemum have been growing like crazy and now look like they’ll be ready to harvest pretty soon.
Day 8 Microgreens – some of the seeds are growing strongly
Although my cat doesn’t seem to find them that impressive…

Day 8 – my cat is not impressed by the microgreens
All the roots seem to be in the water now so I stop spraying the water on and just leave them to use the tray water.
DAY 10: The red amaranth is getting left behind…
Day 10 Microgreens – the red amaranth is getting left behind
The packet says that the microgreens should be ready to harvest in 7-14 days but at Day 10 they’re not very big. Perhaps they’re not getting enough sunlight? I move them permanently outside to see if that makes them grow a bit faster.
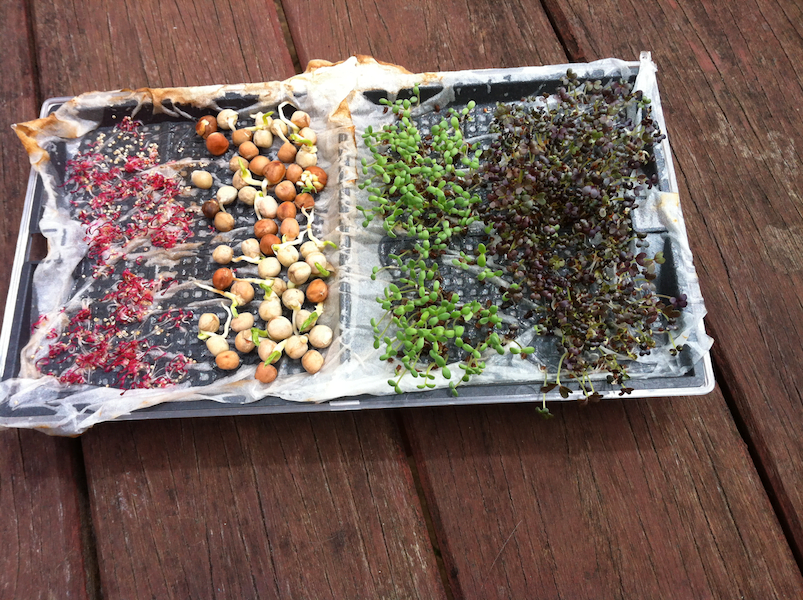
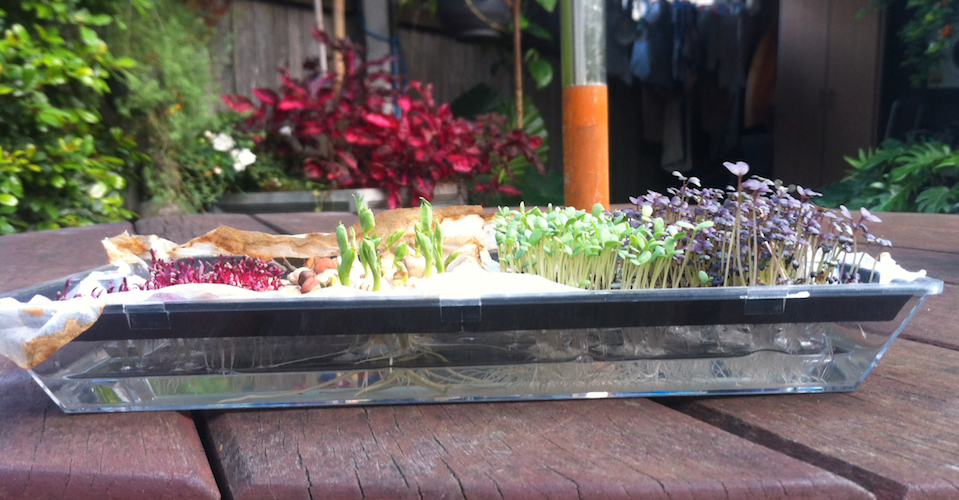
DAY 17: The pea shoots have exploded and look great. Some friends who come over for brunch in the courtyard are very impressed with my miniature tabletop veggie patch.
The other shoots (particularly the red amaranth) still don’t look as big as the picture on the packet. I’m not sure how I would harvest them when they’re that short, so I decide to leave them all for just another couple of days and then make some kind of salad that I can try them out in.

Day 17 – Microgreens are looking impressive
DAY 18: Further consultation with the instructions tells me that’s there’s a youtube video as well as the written steps. Watching this, it tells me that perhaps the microgreens need some half strength fertiliser to really get going. This wasn’t on the paper instructions. I decide to try fertiliser the next day.
DAY 19: Disaster! I forget about my microgreens for a day and they’re outside on a hot day… with no water left in the tray.

Day 19 Disaster! My microgreens have dried out
DAY 20: Desperate watering and spraying has no effect on the red amaranth, mustard or garland chrysanthemum. They are stubbornly dead. The peas on the other hand, forgive me for my neglect and bounce back within a couple of hours. I decide to cut my losses and harvest them now.
Hmm, they’re pretty stringy and leaf-tasting. I guess they’re much older now than the 7-14 days recommended.
Lessons for next time: leave the growing tray inside, apply some fertiliser, and harvest early when they’re small. Luckily, there are thousands of seeds of each of the six types in the packet. I’ve hardly made a dent in them – so plenty left to give it another go!
Although my first try of Mr Fothergill’s Microgreens tray and seeds was not really successful, there were some obvious owner-operator errors in what I did. I think that the photos were a bit misleading as I thought mine weren’t big enough to harvest when they were probably ready. And maybe Mr Fothergill’s should suggest you just try one type of seed at a time, as the slower-growing ones make you think you shouldn’t start harvesting any of them yet.
But the system itself is very easy and if you want some fresh garnish or salad microgreens to impress your friends at the table, this works well. Just give them scissors and do it right then!
I think Mr Fothergill’s Microgreens tray and seeds would make a good gift for kids, newbie gardeners and those without much space.